

Add your OpenAI API key here:
Product Settings > Secrets 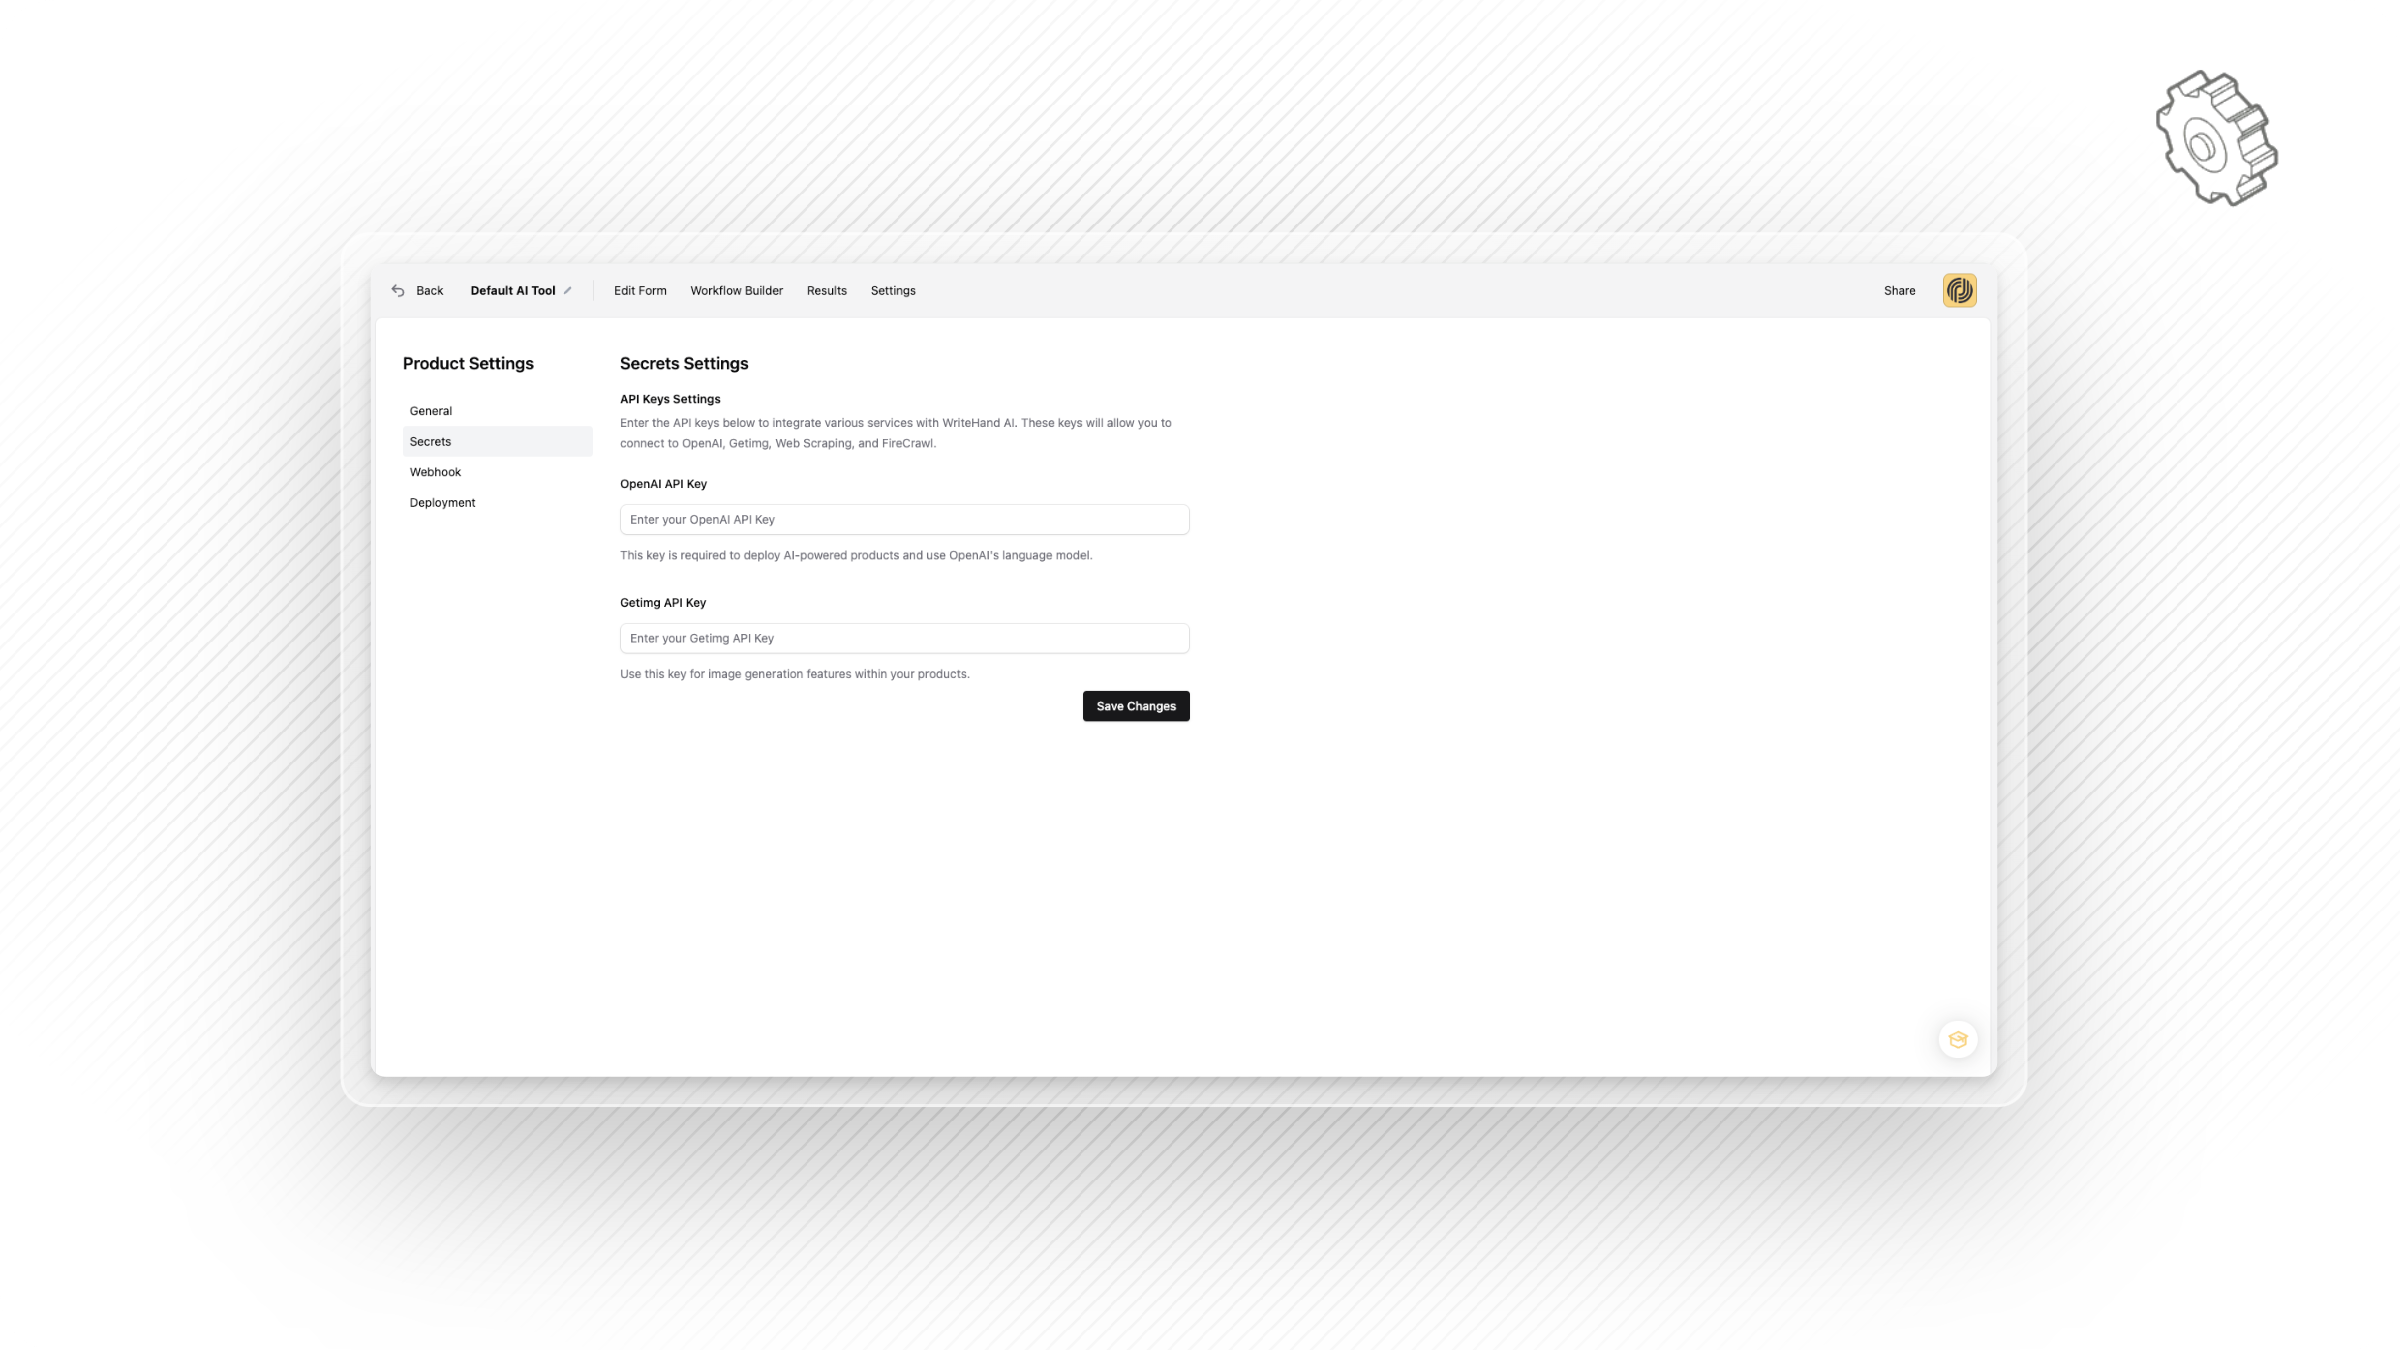 The Process of Adding your OpenAI API key from OpenAI Playground & bringing it to Productised.ai
In this article we’re going to show how to create your OpenAI API key and add it to your Productised Account.
1. Navigate to OpenAI Playground.
First up, just for the avoidance of doubt I’d like to clarify that your OpenAI API key is different and separate from your
paid ChatGPT subscription.
The purpose of it is to allow third party apps like productised to use OpenAI’s AI engine or the GPT language model as
they refer to it. Begin the process by going to platform.openai.com, and creating an account. Then go
to platform.openai.com/settings and it should take you to the ‘project settings’ page.
2. Create and name your project.
Next up, you’ll want to name and create the project, now the naming convention is up to you, it may just be that the
project uses your company name and that’s fine.
3. Create your payment method.
After you’ve named the project, you need to make sure your payment method is sorted so that OpenAI can charge you
for the API credits you use in Productised, or any other 3rd party platform you would like to use that takes advantage of
their API.
So go to Billing > Payment Methods and add your credit card as a payment method. Once you add your card it’s highly
likely that you will be prompted to load $10 on.
4. Learn how to manage your credit balance.
To manage your credit balance, you’ll want to navigate to Billing > Overview. Here you have the option to add additional
funds to your credit balance.
If you really want to have control over your usage it is possible to regularly check up on it from here and incrementally
add more, but we recommend you use the auto recharge option.
5. Become familiar with the auto-recharge feature for managing your credit in Playground.
How auto-recharge works is real simple, essentially it creates a top-up threshold, when your balance reaches the
amount, say $100 – your account is automatically topped up with an amount that you specify!
6. Create your OpenAI API Key
Alright, so you have your project set up in OpenAI playground, your billing and auto-recharge is set up, the final step is
to get your OpenAI API key from PlayGround and transfer it into your Productised account.
So let’s go to API keys in the Playground sidebar and ‘Create new Secret Key.’ Now name your key and select the
project you created earlier for the key to apply to. Finally select ‘create secret key.’
7. Bring your API key you just created back to Productised
Now, you need to copy the key you’ve just created, and paste it into Productised, as once you select ‘copy’ the key will
be encrypted and you’ll no longer be able to see it. So take the key you have copied and navigate back to your
Productised dashboard > Product Settings > Secrets, paste it in where indicated and then select 'save.'
You should now have your instance of Productised connected successfully to OpenAI!